
There is a particular kind of December evening in the Willamette Valley: rain on the windows, a pot of something warm on the stove, and a kitchen table covered in clippings. Making your own holiday decorations is one of the nicest ways to pass those evenings, and you do not need florist training to do it. You need a sharp pair of pruners, a little patience, and a few good materials.
Below are seven crafts we would happily make at home ourselves, each with a materials list, numbered steps, and a note on how long it will last. A few of them use fresh greens, which we know well from the shop, so you will find florist habits scattered through the instructions: cut cleanly, give greens a drink, and keep them away from heat. If you read this before Thanksgiving (it falls on Thursday, November 26 this year), you may even want to start the slow crafts now. Our Thanksgiving table flowers guide covers the dinner table itself.
First, a word about where your greens come from. Oregon is the top Christmas tree grower in the United States, with 3.17 million trees sold in 2023, and Oregon State University Extension’s Christmas tree specialist describes our mild summers and wet winters as ideal for native species like noble fir and Douglas-fir. Noble fir makes up just over half of Oregon’s Christmas tree sales. That means fir boughs are about as local as holiday greenery gets here. The branches trimmed from the bottom of a freshly cut tree are also a great source of evergreen material for crafts, so ask whoever sells you your tree whether you can take the trimmings.
🍊 1. Dried Orange Slice Garland
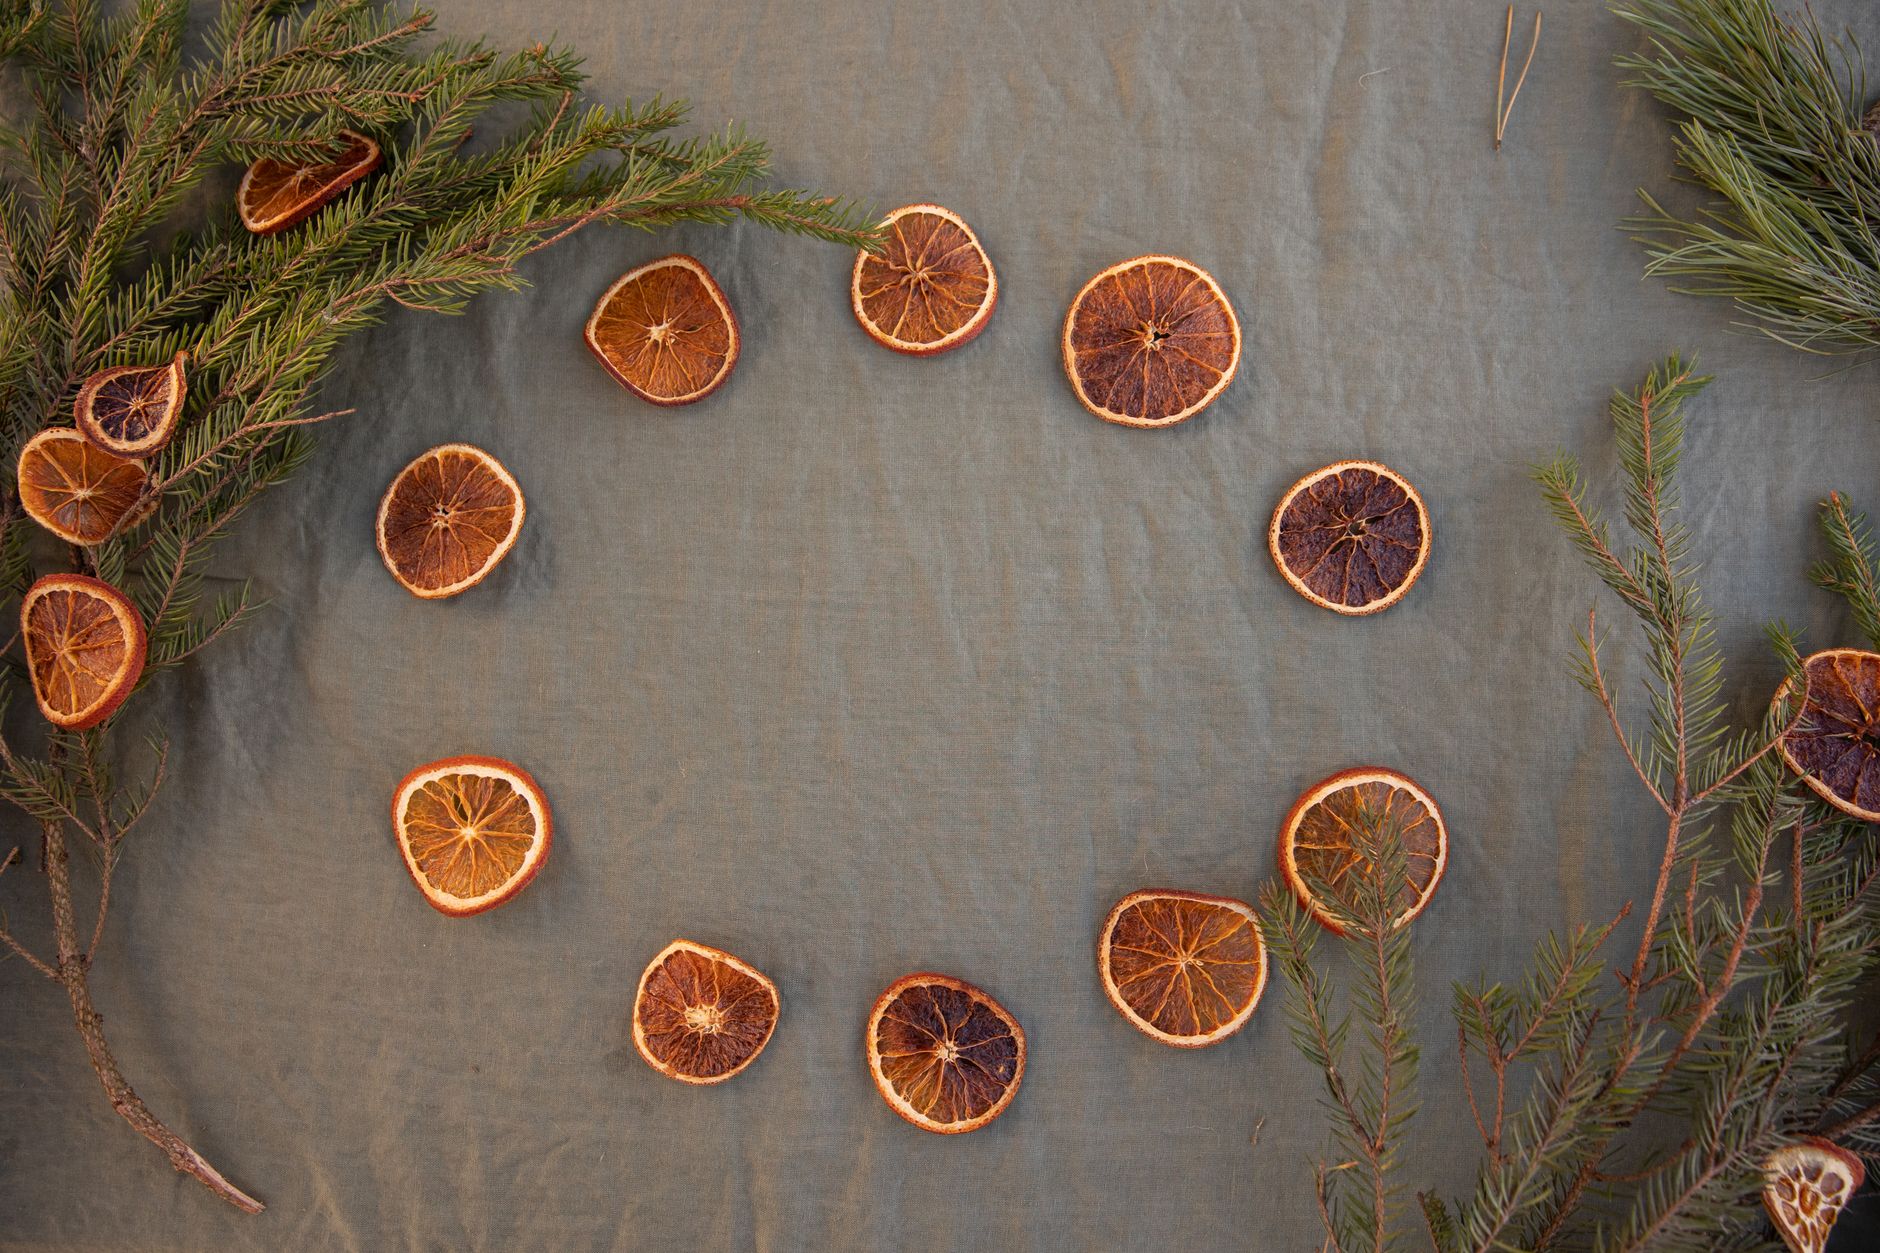
This is the easiest craft on the list, and your kitchen will smell wonderful while it dries. Orange slices glow like stained glass when you hold them up to a window, and a string of them looks lovely draped over a mantel, a window frame or a tree.
You will need:
- 3 or 4 firm oranges with as few blemishes as possible (thick peels dry prettily)
- A very sharp knife, or a mandoline if you have one
- Paper towels, parchment paper and baking sheets or a wire rack
- Twine or string, and a large needle
Steps:
- Slice the oranges evenly, anywhere from 1/8 to 1/4 inch thick. A dull knife squeezes out juice, so use a sharp one, and keep every slice the same thickness so they dry at the same rate.
- Blot both sides of each slice with paper towels. If you have time, leave them on fresh towels for a few hours to shorten the baking.
- Lay the slices in a single layer, not touching, on parchment or a wire rack set over a baking sheet.
- Bake low and slow. Guides for this craft range from about 200°F to 250°F, and some go as low as 150°F, with total drying time anywhere from about 2 to 6 hours depending on your oven and how juicy the fruit is. Flip the slices every 30 to 60 minutes, and keep the temperature low to avoid browning.
- If the flesh still feels wet or sticky when the time is up, let the slices finish drying on a cooling rack on the counter.
- Cut a length of twine as long as your space plus two to three feet for drape. Thread the needle, pass it through each slice, make a small stitch back through the slice, and continue to the next one, spacing them as close or as far apart as you like.
How long it lasts: fully dried slices keep well when stored somewhere dry, so you can tuck the garland away after the holidays and try it again next December.
🌿 2. A Simple Fresh-Greens Wreath
A wreath looks like a florist’s job, but the method is straightforward: small bundles of greens wired onto a frame, each one covering the cut ends of the one before. It takes an afternoon and rewards you with a front door that smells like a forest.
You will need:
- A box-style wire wreath frame (a 16-inch frame is a good size for most people)
- A roll of 22- or 24-gauge florist wire (often called paddle wire), wire cutters and pruning shears
- Plenty of fresh greens, such as fir, pine, juniper or false cypress
- Gloves, and heavy paper or cardboard to protect your table from sap
- Pine cones, ribbon or other trims, if you like
Steps:
- Cover your work surface and set the frame on it. Wrap the loose end of the wire firmly around the frame, and leave the wire attached to the roll so you can work in one continuous piece.
- Cut your greens into sections about 4 to 8 inches long.
- Layer three or four sections into a small bundle, with the same type of green as a base in every bundle and a piece or two of something different on top. Set one finished bundle aside as a size reference so the bundles stay the same size as you go.
- Lay the first bundle on the frame and wrap the wire tightly around it two or three times.
- Place the second bundle so it covers the cut ends of the first, and wire it down the same way. Continue around the frame. Bundles set close together make a full wreath but take much more material.
- Tuck the last bundle beneath the foliage of the first and fasten it.
- Wire on any cones, bows or ornaments separately, feeding the wire through the greens to the back of the frame. Finish with a wire hanger at the top.
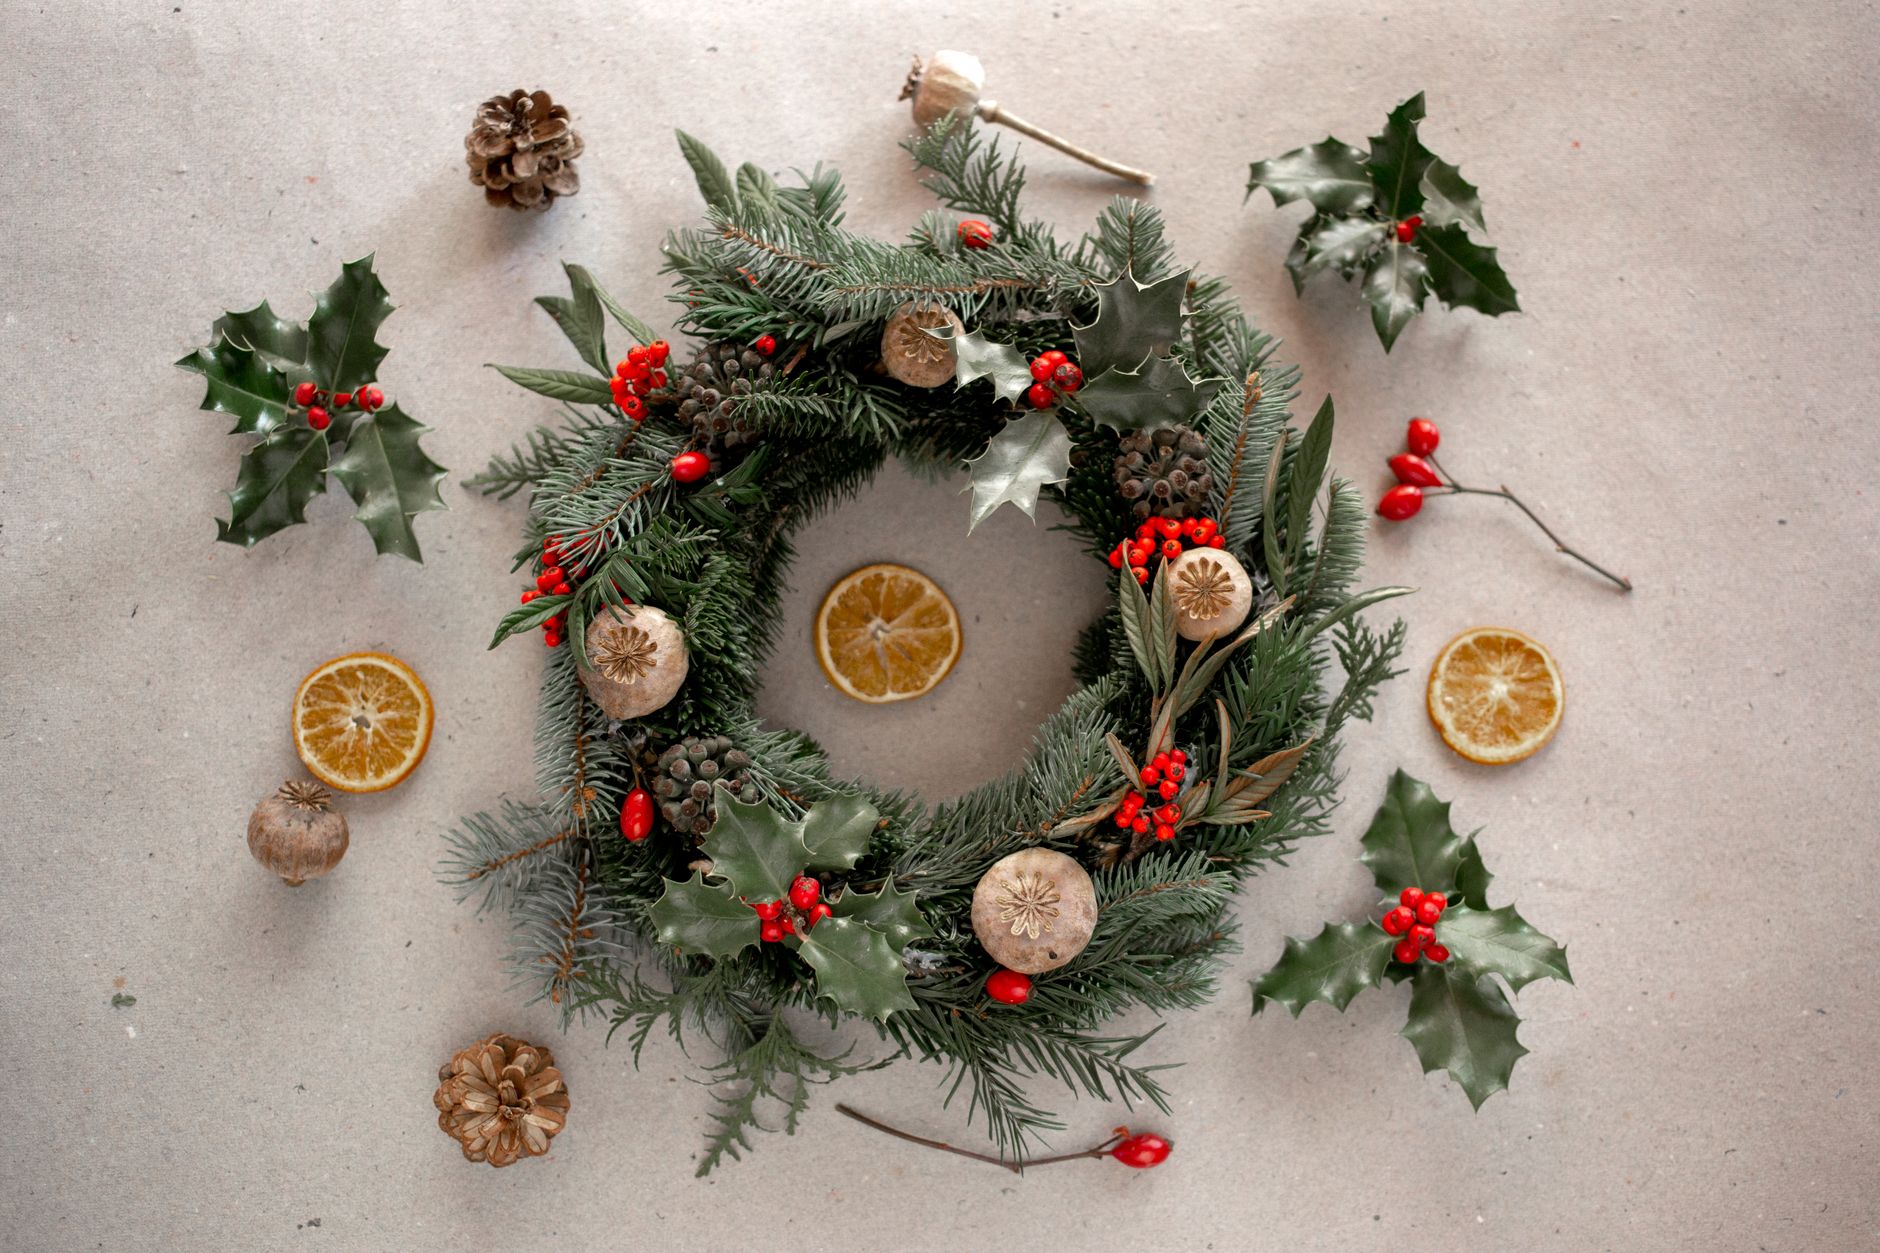
Choosing greens: juniper, white pine and Douglas-fir hold their needles well. Spruce can shed all its needles when brought into a warm room, so a spruce wreath belongs outdoors or on a cool covered porch. Pine, juniper and false cypress have the strongest scent, while spruce, fir and yew are only lightly scented.
How long it lasts: the ideal conditions for a fresh wreath are cool and moist. Outdoors, away from wind, a fresh-cut wreath can look good for weeks. Indoors, in dry, warm air, it typically lasts only 7 to 10 days. Take it down promptly once it dries, and compost the greens afterward. You can save the frame and wire to build another next year.
🕯 3. A Candle Ring of Cut Greens
A low ring of greens around a candle is one of the classic holiday centerpieces, and it is a good one for a beginner because it is small and forgiving. It is also the craft that most needs a safety talk, so please read this part twice.
Candle safety first: never leave a burning candle unattended. Fresh greens dry out quickly indoors, and dry, brittle greenery only needs one spark to catch fire. Keep the greens trimmed well back from the flame, keep the candle in a proper holder that sits clear of the foliage, and replace the greens as soon as they dry. A simple test: bend a needle. If it bends, the greens are still fresh. If it breaks or falls off in your hand, they are too dry and should be swapped out. If you want the look without any worry, use a battery-operated candle instead.
You will need:
- A ring or block of wet floral foam (soaked in water) on a waterproof plate or tray
- A sturdy candle holder that fits the center of the ring
- Soft greens such as fir or cedar, cut into short pieces
- Pruners
Steps:
- Soak the foam thoroughly in water, then set it on the tray.
- Cut the greens into pieces about 4 to 6 inches long and strip the lowest few inches of each stem.
- Push the stems into the foam at a slant, working around the ring so each piece points the same direction. Overlap them until the foam is hidden.
- Check the foam every day or two and top up the water. A water source is the best way to keep evergreens fresh.
- Place the candle holder so the flame is clearly above and away from the greens, and trim back any piece that leans toward it.
How long it lasts: with a water source and a spot out of sunlight and away from heat vents, evergreens indoors can last at least a few weeks. Keep checking them, though, and replace the greens weekly if you plan to light a candle nearby.
🎄 4. A Mini Tabletop Tree of Greens
If a full-size tree is not in the cards, or you simply want a second little tree on the sideboard, a cone of greens is a charming alternative. It also uses up the trimmings from the bottom of your real tree.
You will need:
- A cone of floral foam made for fresh stems, soaked in water
- A small waterproof dish or pot to hold it
- Plenty of short fir or cedar tips
- Small trims: berries, tiny ornaments, ribbon
Steps:
- Soak the foam, then set the cone point-up in the dish.
- Start at the bottom and push short tips into the foam, angled slightly downward, so they overlap like shingles.
- Work up the cone, using shorter pieces as the circumference narrows. Keep the pieces about the same size so the shape stays even.
- Finish with a single upright tip at the top, then tuck in small ornaments or ribbon.
- Keep the dish topped up with water.
How long it lasts: cut greens are happiest cool, out of direct sun and away from heat sources, and a water source is the best way to extend their life. Misting helps a little, but only if you do it regularly. Cut evergreens given those conditions can last at least a few weeks. Remove the tree once the needles start to feel brittle.
🍊 5. Cinnamon-Clove Pomanders and Spice Bundles
A pomander is simply a firm orange studded with whole cloves. As the fruit dries it releases a warm, spicy fragrance, and the finished piece looks as good tied with a ribbon as it smells.
You will need:
- Firm oranges, or smaller citrus for tree-sized ornaments
- Plenty of whole cloves
- A toothpick or skewer to start the holes
- Ground cinnamon for dusting, and ribbon or wire for hanging
- Cinnamon sticks, twine and a few sprigs of greens, for the bundles
Steps:
- Use a toothpick to make starter holes in the orange peel. Poking cloves straight into the peel is hard on fingers, so this step is worth the effort, especially with children.
- Push a whole clove into each hole. Cover the whole orange for the strongest fragrance, or make a pattern such as diamonds, circles or a tree shape.
- Dust the finished orange with ground cinnamon. For a stronger scent, you can roll it in a mix of ground spices and leave it in the mix for about a week, turning it once a day.
- To hang it, run a long wire through the orange, knot the bottom and loop the top, or simply tie on a ribbon.
- For a no-fruit version, gather three or four cinnamon sticks, tie them with twine, and tuck a sprig of fir or cedar behind the knot. They make pretty napkin ties and gift toppers.
How long it lasts: store pomanders in a paper bag for a few weeks while they dry. Plenty of cloves help preserve the fruit, because the cloves draw out the juices and the orange shrinks, and a dusting of cinnamon helps too. Once dried they can hang in a closet like a sachet.
🌸 6. Pressed-Flower Ornaments and Gift Tags
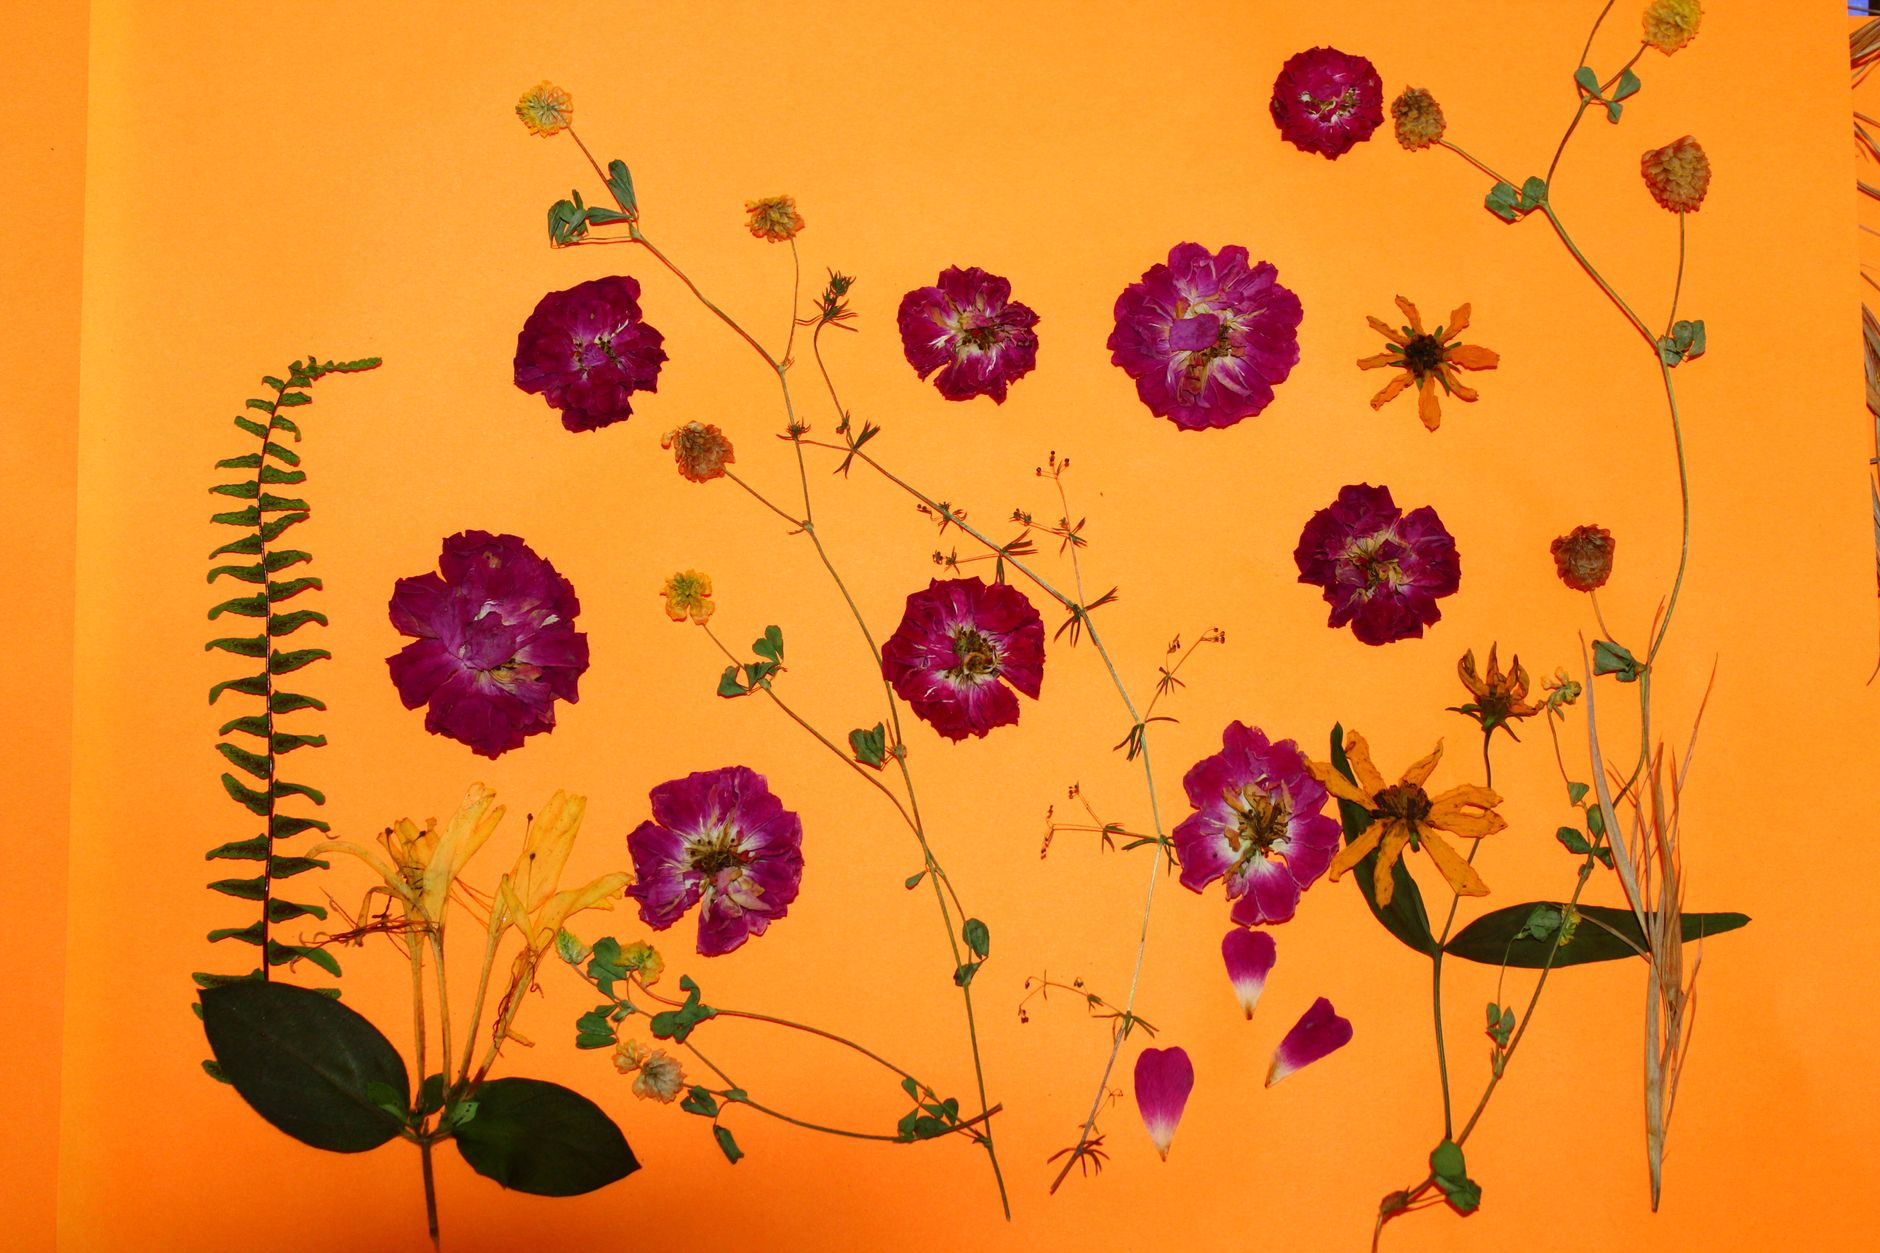
This is the slowest craft, but it is also the calmest, and it turns small flowers and leaves from your own yard into something you can give away. Plan ahead: pressing takes weeks, so begin now if you want them ready for gifts.
You will need:
- Small, flat flowers and leaves (flat flower heads such as violets or buttercups press well; bulky flowers such as sunflowers are better dried)
- Paper towels, and cardboard or folded newspaper
- Several heavy books
- Kraft tags or card stock, clear adhesive-backed plastic or glue, scissors, ribbon or twine
Steps:
- Pick flowers that are fresh, not fading, and carry them home in a plastic bag so they do not wilt. Only pick flowers that are common and plentiful, and take a leaf to press alongside each flower.
- Arrange the flowers and leaves on a paper towel, leaving each one room. They will dry in exactly the position you set.
- Place the towel on a piece of cardboard or four layers of folded newspaper, cover with a second towel and another layer of cardboard, and repeat, keeping the stack no more than 6 inches high.
- Put heavy books on top and leave the stack in a warm, dry room. After two weeks, peel back the paper gently and check that everything is flat and dry. If not, give it another week.
- Make your keepsakes. For a gift tag, glue a pressed flower to a kraft tag and add a loop of twine. For an ornament, sandwich a pressed flower between two pieces of clear adhesive-backed plastic, trim around it, punch a hole and add a ribbon.
Drying instead of pressing: bulkier flowers, such as roses, daisies and seed heads, are better air-dried. Tie no more than 8 to 10 stems in a bunch, hang them upside down in a dry, airy place for a few weeks, and use them in wreaths and gift bundles. Pressing in a plant press is faster: check after two or three days, and allow up to a week or longer for thick specimens.
How long it lasts: pressed and dried flowers can be preserved for a long time, but they are brittle. Handle gently and keep them dry.
🍂 7. A Foraged-Greens Bud Vase
Not every holiday craft needs wire or foam. A few interesting branches and a small vase on the windowsill is all you need for a quiet, modern look, and it is a fine way to use what is growing in your own yard. Look for evergreen tips, colorful twigs from dogwood or willow, and cones. Boughs of holly and berried viburnum add color too, though see the pet note below before you decide where they go.
You will need:
- Pruners
- A small bucket of water
- A bud vase, bottle or small jar
- Three to five branches or evergreen tips of different textures
Steps:
- Cut small pieces from inconspicuous parts of the plant, only from your own yard or with the owner’s permission.
- Put the cut stems straight into a bucket of water, or soak the pieces overnight to rehydrate them before you bring them in.
- Shake the greens vigorously and look them over for bugs and spiders before they come inside, because insects become active once they warm up.
- Trim the stems on a slant and strip any leaves that would sit below the waterline.
- Choose a main branch for height, then add shorter tips and a twig or two for contrast.
- Set the vase out of direct sunlight and away from heat drafts, and top up the water often.
How long it lasts: with water, fresh evergreens indoors can last at least a few weeks. Spritzing helps a little, but the water in the vase does the real work. Never place the vase near an open flame, a space heater or a heater vent.
🐾 A Pet-Safety Word Before You Start
If you share your home with a dog or cat, check your materials against the ASPCA plant lists before they come inside. Both holly and mistletoe can cause gastrointestinal upset and cardiovascular problems if pets eat them, and the ASPCA lists mistletoe as toxic to dogs, cats and horses. Holly is also listed as toxic to dogs and cats, with vomiting, diarrhea and depression as the signs, though the leaves and berries are described as low toxicity. Yew is listed as toxic to dogs, cats and horses, with much more serious signs, so leave yew out of wreaths and arrangements in homes with pets.
A few other hazards are worth knowing about. Tree water is a breeding ground for bacteria and can cause nausea and diarrhea, so cover it. Tinsel can cause severe vomiting and blockages. Salt-dough ornaments can cause life-threatening electrolyte imbalances in pets even when dry, so we suggest skipping those. The ASPCA also warns never to leave candles unattended, because a wagging tail can knock one over.
Essential oils in their concentrated form can be a danger for dogs and cats, causing unsteadiness, depression and low body temperature, and, if swallowed, vomiting and diarrhea. That includes oils people use for scenting crafts. Skip adding oils to your pomanders and bundles, and keep any bottles you own up and out of paws’ reach. If you think your pet has eaten something, call your veterinarian or the ASPCA Animal Poison Control Center at (888) 426-4435.
For more on holiday plants and pets, see our guide to holiday flowers and greens, including care and pet safety.
✨ Mixing and Matching
The best part of these crafts is how well they fit together. Hang the orange garland over the same mantel that holds your candle ring, tuck a few pressed-flower tags into the wreath, and put the bud vase on the windowsill beside the mini tree. If you want living greenery that lasts beyond the holidays, browse our plants and gardens for something that will keep growing.
❓ Quick Questions
What is the best oven temperature for dried orange slices?
Guides for this craft range from about 200°F to 250°F, with some as low as 150°F. Lower temperatures take longer but brown the slices less. Plan on roughly 2 to 6 hours and flip them regularly.
Which fresh greens hold up best in a wreath?
Juniper, white pine and Douglas-fir hold their needles well. Spruce can shatter indoors, so keep a spruce wreath in a cool, covered spot outdoors.
Is it safe to light a candle in a ring of fresh greens?
Only with care. Never leave it unattended, keep the greens trimmed well away from the flame, keep them watered, and replace them as soon as they get dry. A battery-operated candle is the zero-risk choice.
Are holly and mistletoe safe around pets?
No. The ASPCA lists both as toxic to dogs and cats, so keep them out of reach or choose a different green.
How long does it take to press flowers?
Under heavy books, about two weeks, plus another week if they are not yet flat and dry. In a plant press, check after two or three days and allow up to a week for thick flowers.